
Themes Instructions
Select a Theme from the drop down menu
Table of Contents
- 1.Theme Installation
- 2.How to set Front Page?
- 3.Adding Contents
- 4.Page Templates
- 5.Inner Banner
- 6.How to manage Font Family?
- 7.How to manage Colors?
- 8.How to add/remove Background image?
- 9.Adding Widget Section.
- 10.How to configure Reef Plus About Sidebar widget?
- 11.How to configure Reef Plus Social Menu widget?
- 12.How to configure Reef Plus Highlighted Posts Widget?
- 13.How to configure Reef Plus Recent/Popular Posts widget?
- 14.How to setup Header Section?
- 15.How to Setup Slider / Banner?
- 16.How to setup Highlighted Posts Section?
- 17.How to setup Main content?
- 18.How to setup Testimonials?
- 19.How to Setup Instagram?
- 20.How to setup General body layout?
- 21.How to manage Sidebar?
- 22.How to setup footer widgets?
- 23.Other Theme Options
- 24.Updating Theme Using FTP
Reef Plus
After you purchase & download your theme from Theme Palace, you can choose either of the approaches given below to install your theme:
- Log in to the WordPress Administration Panels.
- Select the Appearance panel, then Themes.
- Select Add New.
- Then, select Upload Theme.
- Click Browse. Locate reef-plus.zip theme in your computer.
- Select reef-plus.zip & click Install Now.
You can use FTP client like FileZilla to connect your web server.
- Unzip reef-plus.zip to your Desktop.
- Using an FTP client to access your host web server, go to /wp-content/themes/ & upload your new copy of Reef Plus theme.
- Now, log into the WordPress Dashboard with your login details.
- Select the Appearance panel, then Themes.
- You will see the theme in the list.
- Then, click Activate button.
- Now, the theme will be activated & go through the following options to set up the theme step wise.
- From Customize section, go to Static Front Page.
- From Static Front Page, you will be able to set front page displays as Your latest posts & A static Page.

Note: If you select Your latest Posts, then all the posts will be displayed in your frontpage.
If you select A static page, then your frontpage will display the content from the page you selected as Front Page. However the page you selected in Posts Page will become your blog page.
- Posts
- Go to Posts Section, go to Add New.
- Give the Title & Content for the Post.
- Add the categories & tags.
- Select a Post Format.
- Set the Featured Image from right bottom corner.
- Select a Page Banner from page options.
- Click on Publish button.
- Pages
- Go to Pages Section, go to Add New.
- Give the Title & Content for the Page.
- Select a Page Template.
- Set the Featured Image from right bottom corner.
- Select a Page Banner from page options.
- Click on Publish button.
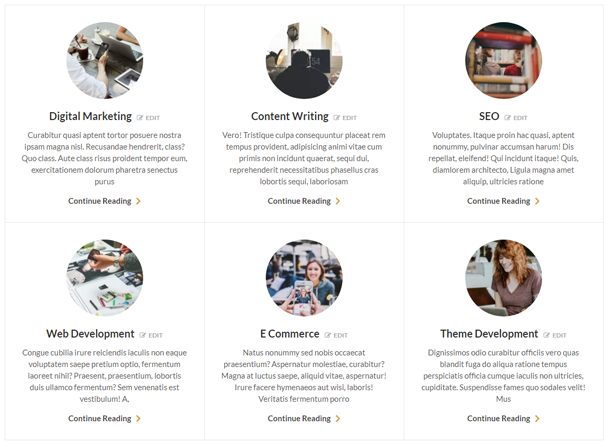
Reef Plus Theme comes with 6 different Custom Page Templates.
- Compact View
- Contact
- Faq
- Left Sidebar
- Right Sidebar
- Service
Please follow the following steps to setup the Page Templates.
1. Compact View
This will adjust your page to be more compact to the left & right.
2. Contact
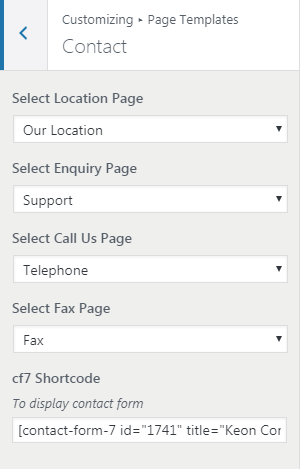
- From Customize section, go to Page Templates.
- Go to Contact.
- Google Map Section: Add a google map iframe in the content of this page.
- Contact Form Section: Add a shortcode of Contact Form 7Please add following markups in your Contact Form to get better design & effect as shown in demo.
		<div class="kt-contact-form-area">
		   <div class="kt-contact-form-area">
		      <div class="form-group">
		         [text* your-name id:cf-username class:form-control placeholder "Name *"]
		         <label for="cf-username">Name <sup>*</sup></label>
		      </div>
		      <div class="form-group">
		         [email* your-email id:cf-email class:form-control placeholder "Email *"]
		         <label for="cf-email">Email <sup>*</sup></label>
		      </div>
		      <div class="form-group">
		         [text* your-subject id:cf-subject class:form-control placeholder "Subject *"]
		         <label for="cf-subject">Subject <sup>*</sup></label>
		      </div>
		      <div class="form-group">
		         [textarea* your-message id:cf-message class:form-control placeholder "Message *"]
		         <label for="cf-message">Message <sup>*</sup></label>
		      </div>
		      <div class="form-group">
		         [submit id:cf-send class:form-control "Send Message"]<span class="ajax-loader"></span><button type="reset" class="cleaner">clear form <i class="fa fa-close"></i></button>
		      </div>
		   </div>
		</div>
- Contact Address Section: Select the pages you want to add to this page.
- Click Save & Publish.
3. FAQ
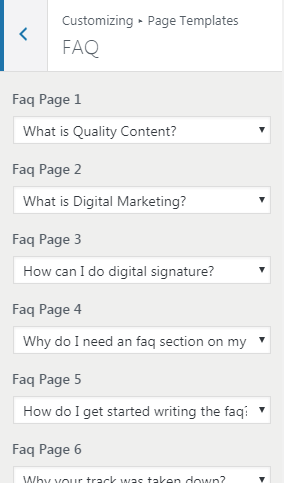
- From Customize section, go to Page Templates.
- Go to Contact.
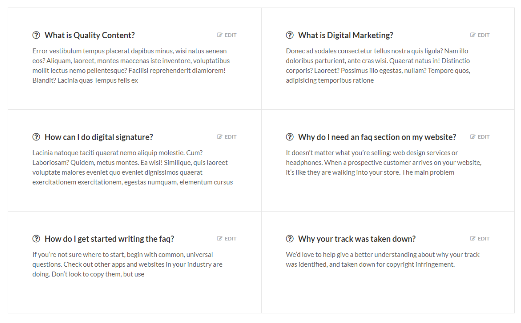
- Select the pages you want to add to this page.
- Click Save & Publish.
4. Left Sidebar
This will add a sidebar to left side of the page.
5. Right Sidebar
This will add a sidebar to right side of the page.
6. Service


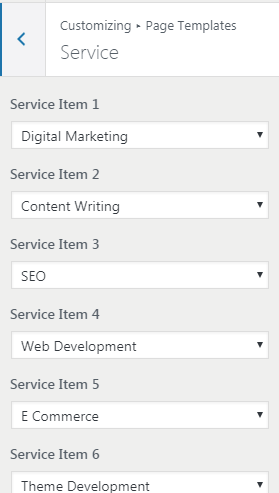
- From Customize section, go to Page Templates.
- Go to Service.
- Select the pages you want to add to this page.
- Click Save & Publish.
You can select an inner banner image from page options. This will change the banner image in single pages.
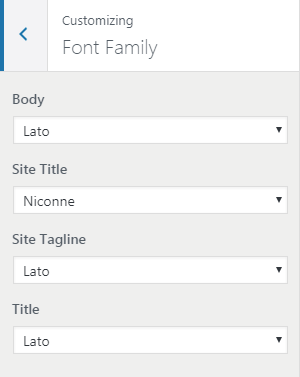
- From Customize section, go to Font Family.
- You will find following options:

- Body: Select an appropriate Font for whole site.
- Site Title: Select an appropriate Font for Site Title.
- Site Tagline: Select an appropriate Font for Site Tagline.
- Title: Select an appropriate Font for all the Headings.
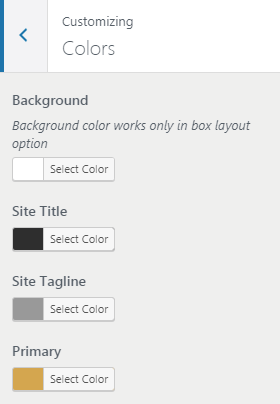
- From Customize section, go to Colors.
- You will find following options:


- Background: This will change the background color. This option only works when your site’s layout is box.
- Site Title: This will change the text color of your site title.
- Site Tagline: This will change the color of your site tagline.
- Primary: This will change the color of your overall site.
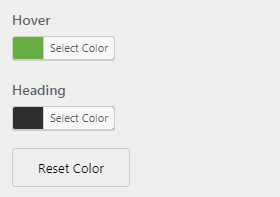
- Hover: This will change the color of link when you hover on it.
- Heading: This will change the text color of all the headings.
- Reset Color: This will reset all the color option to its default state.
Note: This action is not reversible. - Click Save & Publish.
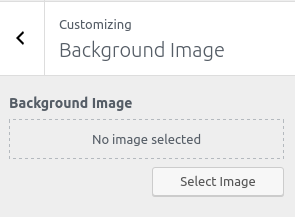
- From Customize, go to Background image.
- Select an image.
Note: Background image works only in box layout option. - Click Save & Publish.
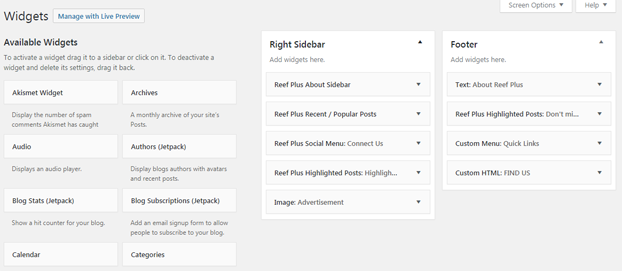
Reef Plus has two widget areas ( Right Sidebar & Footer ) & Four Custom Widgets ( Reef Plus About Sidebar, Reef Plus Social Menu, Reef Plus Highlighted Posts & Reef Plus Recent/Popular Posts ). You can put any of these widgets including the default widgets by WordPress in this widget areas. Please follow the following steps to add a widget.
- Go to Appearance, go to Widgets.
- Drag & drop a needed widget from Available Widgets section to the Right Sidebar or Footer Widget area.
- Click Save.
- Go to Appearance, go to Widgets.
- Find a respective widget from Available Widgets section.
- Drag & drop it into the Widget Area.
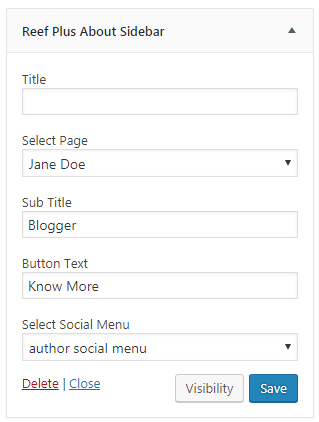
- Provide the Title.
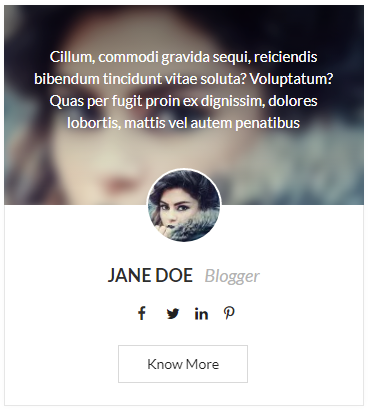
- Select a Page.
- Provide a Sub Title.
- Provide a text for Read More button.
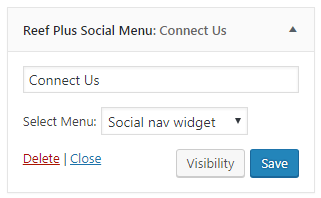
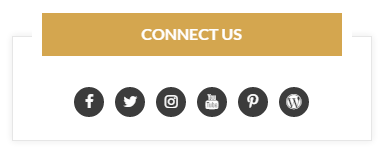
- Select a menu that contains link for your social profile.
- Click Save.
- Go to Appearance, go to Widgets.
- Find a respective widget from Available Widgets section.
- Drag & drop it into the Widget Area.
- Provide the Title.
- Select a menu that contains link for your social profile.
- Click Save.
- Go to Appearance, go to Widgets.
- Find a respective widget from Available Widgets section.
- Drag & drop it into the Widget Area.
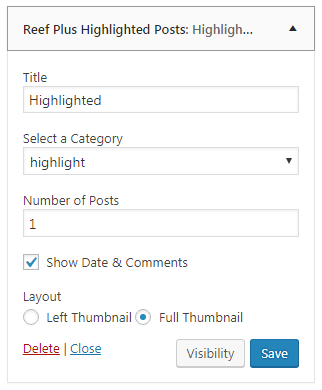
- Provide the Title.
- Select a Category.
- Provide a number of posts you want to fetch. You can fetch up to 5 posts.
- Check the option to show date & comments.
- Select a desired Layout.
- Click Save.
- Go to Appearance, go to Widgets.
- Find a respective widget from Available Widgets section.
- Drag & drop it into the Widget Area.
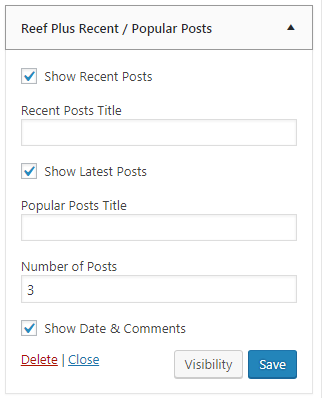
- Check the option for showing Recent Posts & Popular Posts.
- Provide the Title Recent Posts & Popular Posts respectively.
- Check the option to show date & comments.
- Click Save
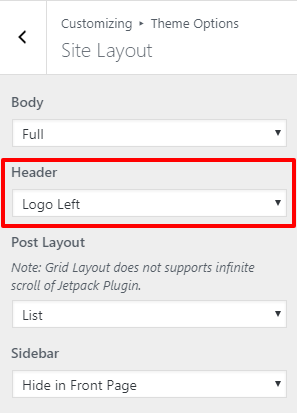
Reef Plus Theme comes with two Header Options i.e 1. Logo Top ( Default ) & 2. Logo Left.
Follow the following steps to change header layout.
- From Customize section, go to Theme Options > Site Layout
- Select an appropriate option for you.
- Click Save & Publish.
Header section consist of following section
- Logo & Site Identity
- Primary Menu
- Social Links Menu
- Alternative Menu
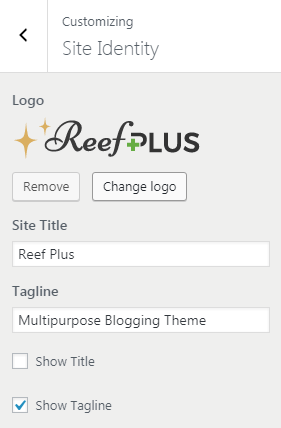
- From Customize section, go to Site Identity.
- Select a logo.
- Provide the site Title.
- Provide the site Tagline.
- Check the appropriate options for Enabling/Disabling the Title & Tagline.
- Select an appropriate image for Site Icon.
- Click Save & Publish
Primary Menu , Social menu and Alternative Menu
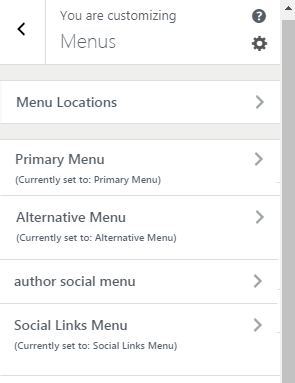
- From Customize section, go to Menus.
- Click Add a Menu button.
- Provide the name for your menu.
- Click Add Items
- Click on the items from Pages, Posts, Categories, Tags & Format as per your need.
- For Social menu, add the items from Custom Links & provide the url of your social profile. for eg: http://facebook.com/userId , provide a link text.
- Asssign the menu to any of the Menu Locations listed under Display Locations.
- Click Save & Publish
Available Menu Location :
How to Disable Menu?
Follow the steps below to disable any menu:
- From Customize section, go to Menus.
- Go to Menu Locations.
- Select an empty menu ( –Select Menu– ) from the dropdown.
- Click Save & Publish.
Note: You can enable / disable the alternative menu from Customize > Theme Options > Options > Enable Alternative Menu
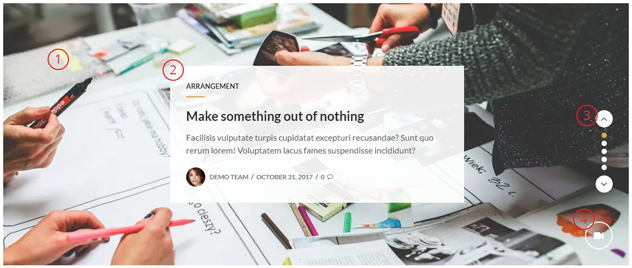
Slider / Banner section can be divided into different sections as show in figure.
- Slider / Banner section
- Content section
- Control section
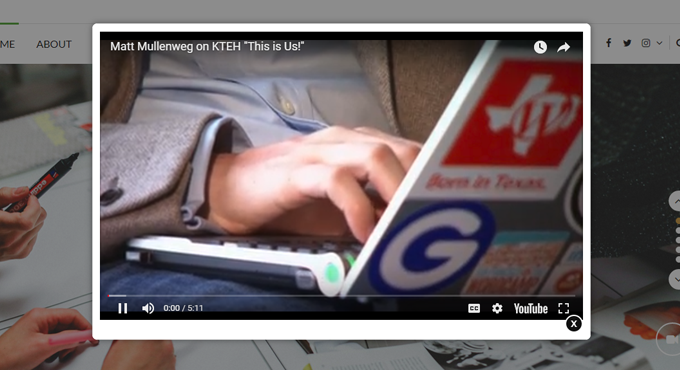
- Video section
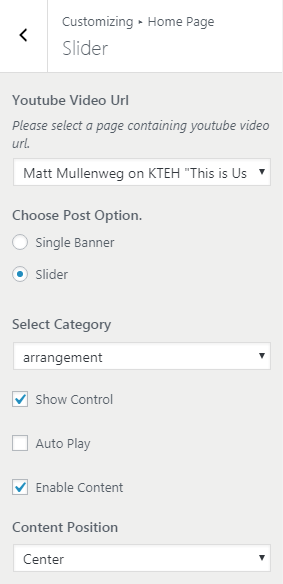
The image below shows customizer options for the sections shown above :
Slider
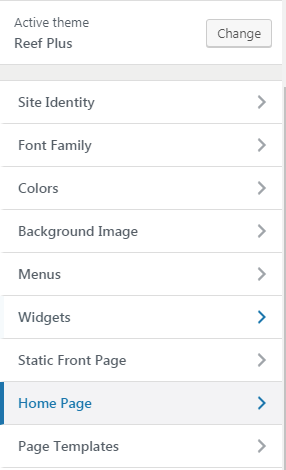
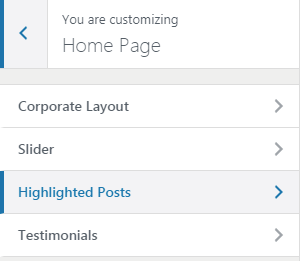
- From Customize section, go to Home Page.
- Go to Slider.
- Under Choose Post Option, select Slider.
- Under Select Category, select a category you want to use as a slider.
- Check Auto Play option for automatic slide.
- Provide the time in second.
- Click Save & Publish.
Banner
- From Customize section, go to Home Page.
- Go to Slider.
- Go to Single Banner.
- Under Choose Post Option, select Slider.
- Under Select Post, select a post you want to use as a banner.
Note: Slider will use the post’s featured images. Dummy image will be used if a post does not have featured image.
- From Customize section, go to Home Page.
- Go to Slider.
- Check Enable Content to activate it.
- Select Content Position. ( Default or Center )
- Click Save & Publish.
- From Customize section, go to Home Page.
- Go to Slider.
- Check Show Control to activate it.
- Click Save & Publish.
Note: Control section is available only for Slider not for Single Banner.
- From Customize section, go to Home Page.
- Go to Slider.
- Select a page under Youtube Video Url.
- Click Save & Publish.
Note: The page you selected must contain a link of youtube video inorder to activate it.
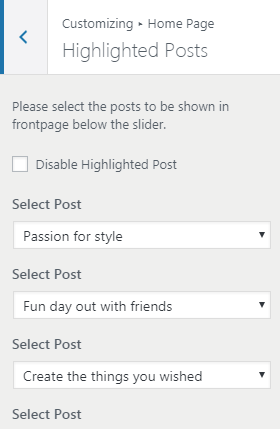
- From Customize section, go to Home Page.
- Go to Highlighted Posts.
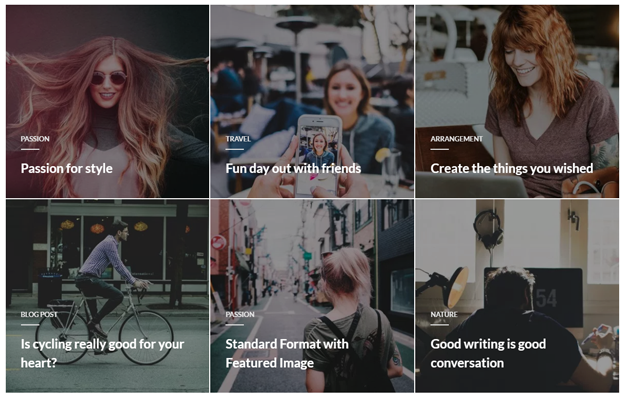
- Select a post from the available dropdowns.
- Click Save & Publish.
Note: You can disable it by checking Disable Highlighted Posts option. Post’s featured image is used for background image. Dummy image will be used if a post does not have featured image.
Reef Plus Theme comes with three different layouts as shown in figure.
- List / Standard Layout
- Grid Layout
- Corporate Layout
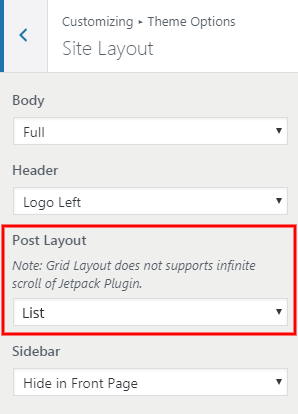
- From Customize section, go to Theme Options.
- Go to Site Layout.
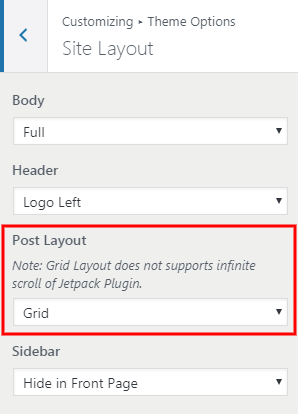
- Select List for Post Layout.
- Click Save & Publish.
- From Customize section, go to Theme Options.
- Go to Site Layout.
- Select Grid for Post Layout.
- Click Save & Publish.
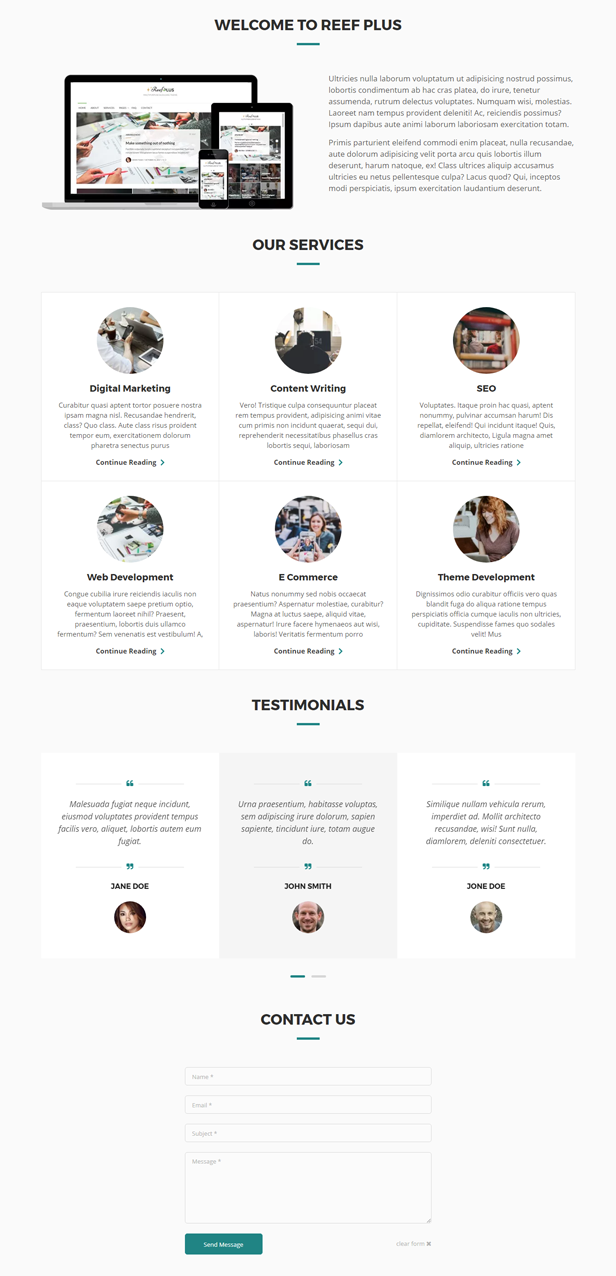
This layout consist of three sections.
- Serivce
- Testimonials
- Contact
Welcome to Reef Plus section appear from Page/Post content so, we recommend you to set your Front Page Display to static Front Page. Please go through to How to set Front Page? section above.
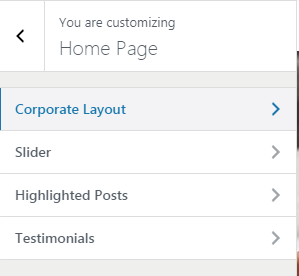
- From Customize section, go to Home Page.
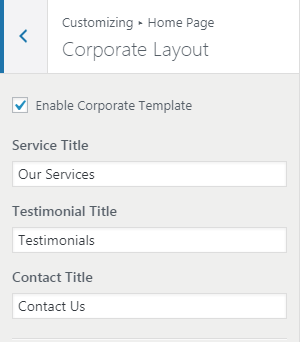
- Go to Corporate Layout.
- Check Enable Corporate Template.
- Provide the title for Service, Testimonial & Contact sections.
- Click Save & Publish.
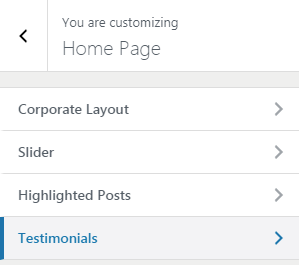
- From Customize section, go to Home Page.
- Go to Testimonials.
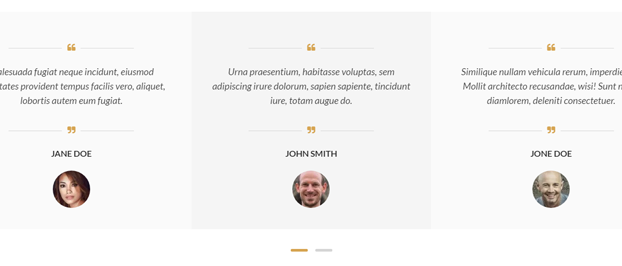
- Select a page from the available dropdowns.
- Click Save & Publish.
Note: You can disable it by checking Disable Testimonials option. Page’s featured image is used for background image. Dummy image will be used if a page does not have featured image.
- From Customize section, go to Home Page.
- Go to Theme Options.
- Go to Options.
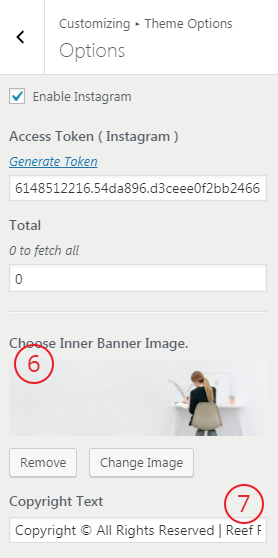
- Check Enable Instagram option.
- Click Generate Token link.
- You will be redirected to http://instagram.keonthemes.com/ , From there click Generate Token & follow the process.
- After you receive instagram’s access token, paste it to the Access Token field in the customizer.
- Provide a number of photo you want to fetch from your instagram profile. Provide 0 to fetch all the photos.
- Click Save & Publish.
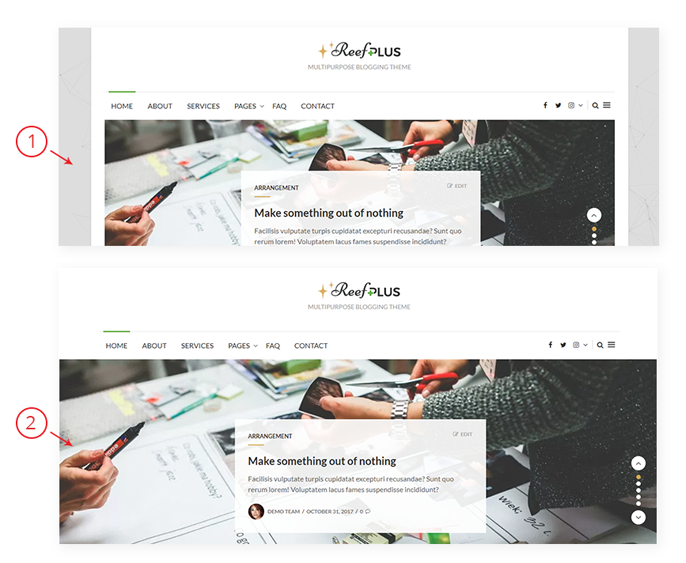
Reef Plus Theme comes with two body layouts as shown in figure.
- Box Layout
- Full Layout
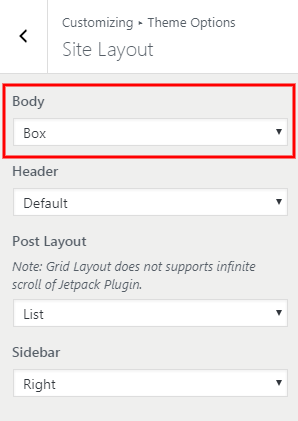
- From Customize section, go to Theme Options.
- Go to Site Layout.
- Select an appropriate option for Body.
- Click Save & Publish.
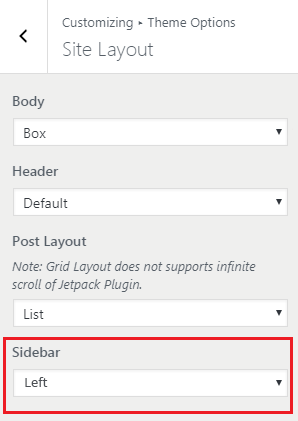
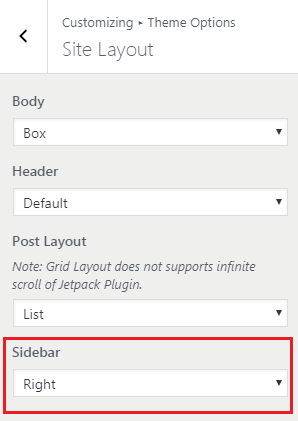
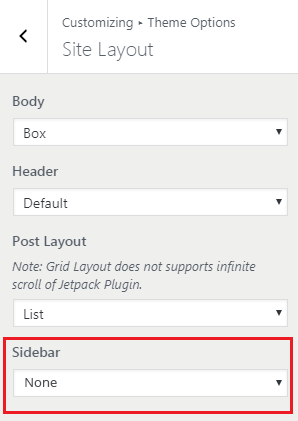
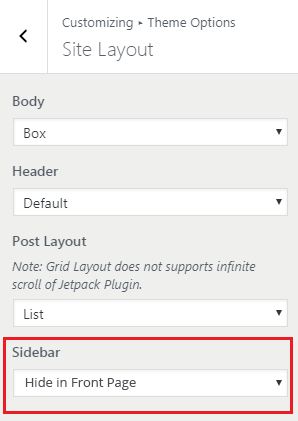
Reef Plus Theme comes with following sidebar options.
- Left
- Right
- None
- Hide in Front Page
- From Customize section, go to Theme Options.
- Go to Site Layout.
- Select an appropriate option for Sidebar.
- Click Save & Publish.
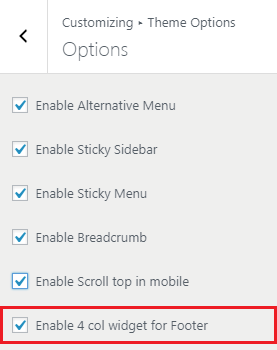
Reef Theme comes with 3 & 4 column footer widget area. Please go through the Adding Widget Section above. By default, 3 column footer widget area is activated. To activate 4 column widget area you need to follow the step below.
- From Customize section, go to Theme Options.
- Go to Options.
- Check Enable 4 col widget for Footer option.
- Click Save & Publish.
- From Customize section, go to Theme Options.
- Go to Options.
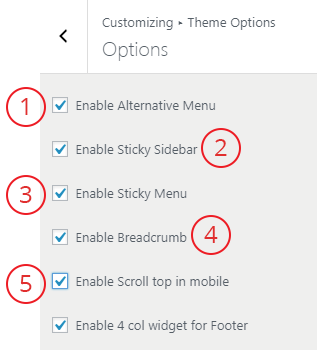
You will find following options:
- Enable Alternative Menu: This will Enable / Disable the alternative menu.
- Enable Sticky Sidebar: This will Enable / Disable the Sidebar’s sticky behavior.
- Enable Sticky Menu: This will Enable / Disable the sticky menu.
- Enable Breadcrumb: This will Enable / Disable the breadcrumbs in all the inner pages.
- Enable Scroll top in mobile: This will Enable / Disable the scroll to top button in mobile devices.
- Choose Inner Banner Image: This will change the banner image for all the inner pages.
- Copyright Text: This will change the copyright text in footer.
To update Theme though FTP, follow these basic steps:
Download the latest version of Reef Plus theme from your Theme Palace member My Account to your Desktop
Unzip reef-plus.zip to your Desktop
Using an FTP client to access your host web server, go to /wp-content/themes/ and upload your new copy of Reef Plus theme which shall replace the old files.


