

Themes Instructions
Select a Theme from the drop down menu
Table of Contents
Travel Store
After you download your theme from WordPress.org, you can choose either of the approaches given below to install your theme.
- Download Travel Store theme from ThemePalace account.
- Log in to the WordPress Administration Panels.
- Select the Appearance panel, then Themes.
- Select Add New.
- Then select Upload Theme.
- Click Browse Locate travel-store.zip Theme in your computer.
- Select travel-store.zip and click Install Now. OR
You can use FTP client like FileZilla to connect your web server.
- Download Travel Store theme from your Theme Palace Account.
- Unzip travel-store.zip to your Desktop.
- Using an FTP client to access your host web server, go to /wp-content/themes/ and upload your new copy of Travel Store Theme.
- Now, log into the WordPress Dashboard with your login details.
- Select the Appearance panel, then Themes.
- You will see the theme in the list.
- Then click Activate button.
- Now the theme will be activate and go through the following options to set up the theme step wise.
After successfully installing the required theme, you need to activate your theme. Follow the given steps to activate the Travel Store theme.
- Select the Appearance panel, then Themes.
- You will see the Travel Store theme in the list.
- Then click the Activate button.
- Now the theme will be activated and go through the following options to set up the theme stepwise.
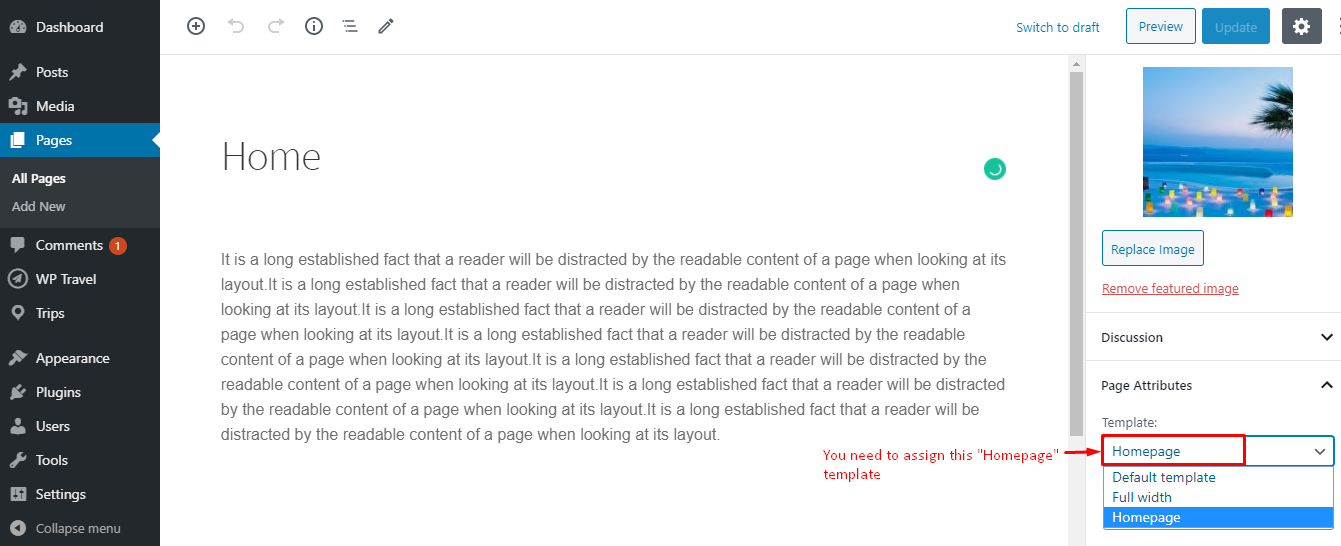
After activating the child theme you need to initially assign the template to the page that you will choose to display the homepage content.
To assign the template to the page, you need to go to page editor of a page eg : “Home” and assign the template.
After activation by default, you will see the list of posts in the homepage. You can change the home page into structure as shown in Travel Store Demo Page. For that, you need to set up static front page.
How to manage Static Front Page?
To set a static front page we need to have a page that can be set as “A static page”. If you already have page then that’s fine otherwise follow the steps:
- Hover over the “Pages” menu
- You will see “Add New” under “All Pages”
- Click “Add New“
- You will be redirected to new page from.
- Add title “Home” or any title you want.
- Leave editor blank
- Click publish
- Hover over “Appearance”
- Click “Customize”
- Go to Homepage Settings.
- From Homepage Settings. section
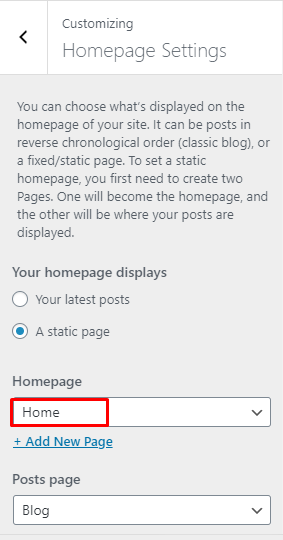
- Choose “A static page” option under “Home page displays” title.
- You will be able to set any page as a static front page and blog page as shown on the image below.
- Click “Save & Publish” button to save changes.
The are multiple sections under TravelStore settings which is explain below:
1. From the Customize section, go to Travelstore Settings.
2. From Travelstore Settings, you will see Banner Slider Options.
3. In Banner Slider Options you will see:
- Enable Section?: This option allow you to enable/disables the slider sections.
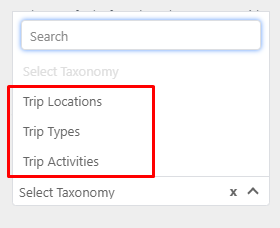
- Taxonomy: There are Three available options which you can choose according to your requirement.
- Trip Locations
- Trip Types
- Trip Activities
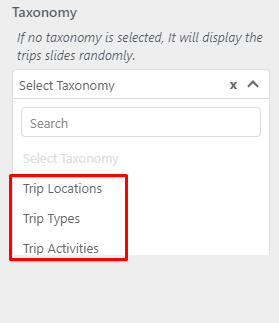

Note: Option 1,2 and 3 i.e. Trip Locations, Trip Types and Trip Activities will appear in dropdown option only after activation of WP Travel Plugin which is recommended by the theme.
Options 1: When Trip Locations is selected you will find following option:
- Select Destination: Select the desired location for Slider section. The location that you have entered using the plugin will appear here.
- Click “Save & Publish” button to save changes.

Options 2 : When Trip Types is selected you will find following option:
- Select Trip Types: Select the desired Trip types for Slider section. Trip type that you have entered using the plugin will appear here.
- Click “Save & Publish” button to save changes.
Options 3 : When Trip Activities is selected you will find following option:
- Select Trip Activity: Select the desired Trip activity for Slider section. Activities that you have entered using the plugin will appear here.
- Click “Save & Publish” button to save changes.

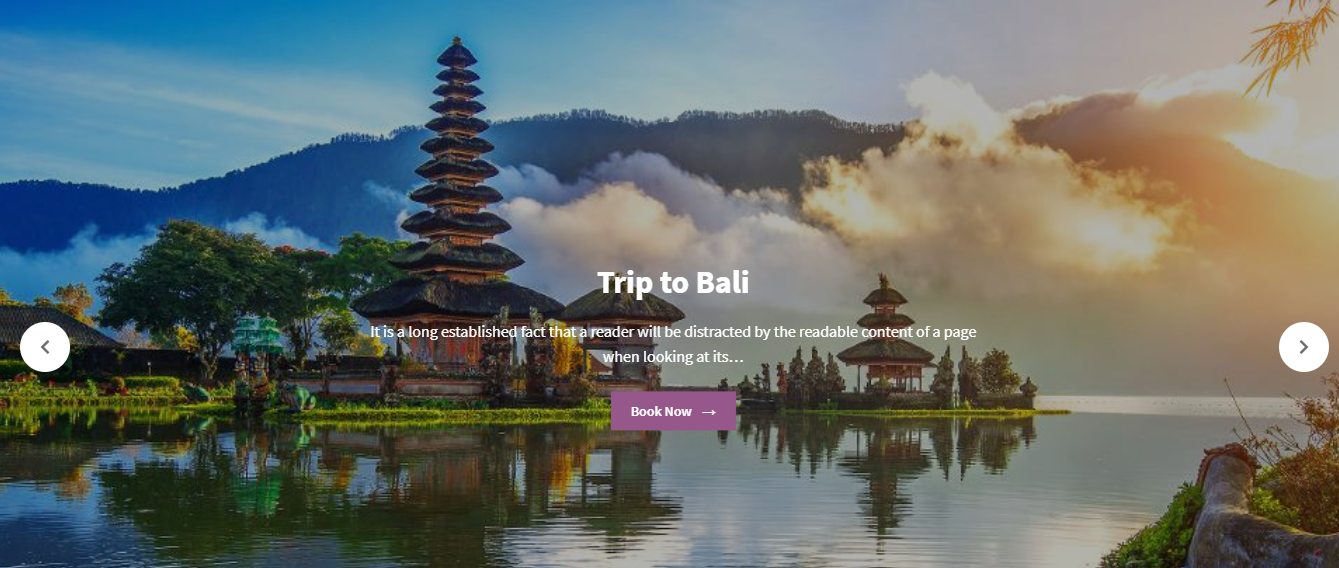
Front End:
1. From the Customize section, go to Travelstore Settings.
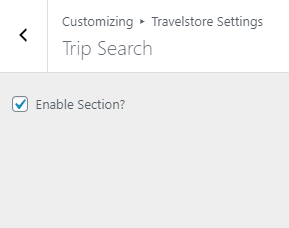
2. From Travelstore Settings, you will see Trip Search option.
3. In Trip Search options you will see:
- Enable Section?: This option allows you to enable/disables the trip search sections.

Front End:

1. From the Customize section, go to Travelstore Settings Options.
2. From Travelstore Settings. Options, you will see Trip Categories Options.
3. In Trip Categories Options you will see:
- Enable Section?: This option allows you to enable/disables the Trip Categories sections.
- Title: This option allows you to edit the main title.
- Number Of Items: This option allows you to manage the number of categories to be displayed.
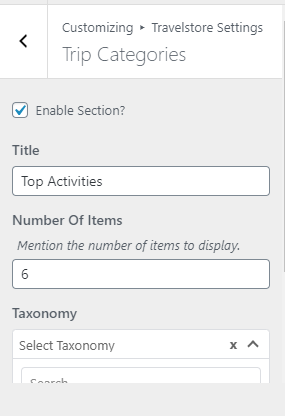
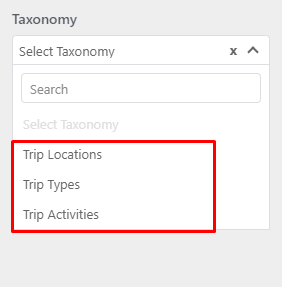
- Taxonomy: This option allows you to select the taxonomy.
Front End:

1. From the Customize section, go to Travelstore Settings. Options.
2. From Travelstore Settings. Options, you will see Latest Trips Options.
3. In Latest Trips Options you will see:
- Enable Section?: This option allows you to enable/disables the Latest trips sections.
- Title: This option allows you to edit the main title of the section.
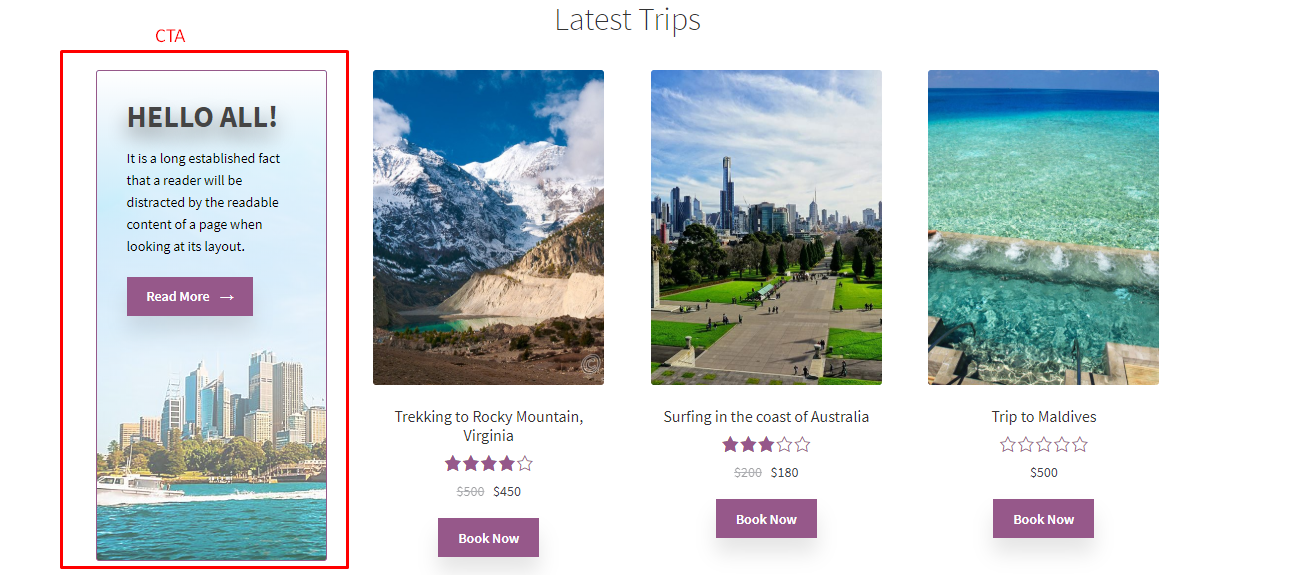
- Call To Action: This option allows you to chose either post/page from the dropdown option to display at left side of section which is CTA section.
- CTA Button Link: This option allows you to enter the custom link to the CTA button.
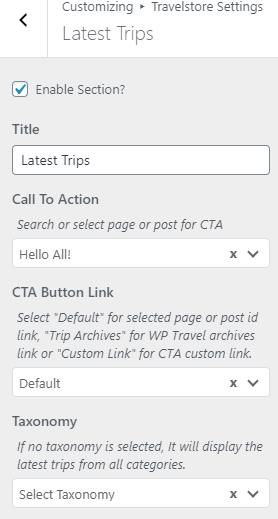
- Taxonomy: This option allows you to select the category to display in this section.
Options 1: When Trip Locations is selected you will find following option:
- Select Destination: Select the desired location for Latest Trips section. The location that you have entered using the plugin will appear here.
- Click “Save & Publish” button to save changes.

Options 2 : When Trip Types is selected you will find following option:
- Select Trip Types: Select the desired Trip types for Latest Trips section. Trip type that you have entered using the plugin will appear here.
- Click “Save & Publish” button to save changes.
Options 3 : When Trip Activities is selected you will find following option:
- Select Trip Activity: Select the desired Trip activity for Latest Trips section. Activities that you have entered using the plugin will appear here.
- Click “Save & Publish” button to save changes.
Front End:
1. From the Customize section, go to Travelstore Settings. Options.
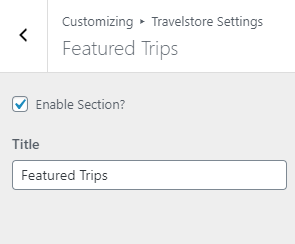
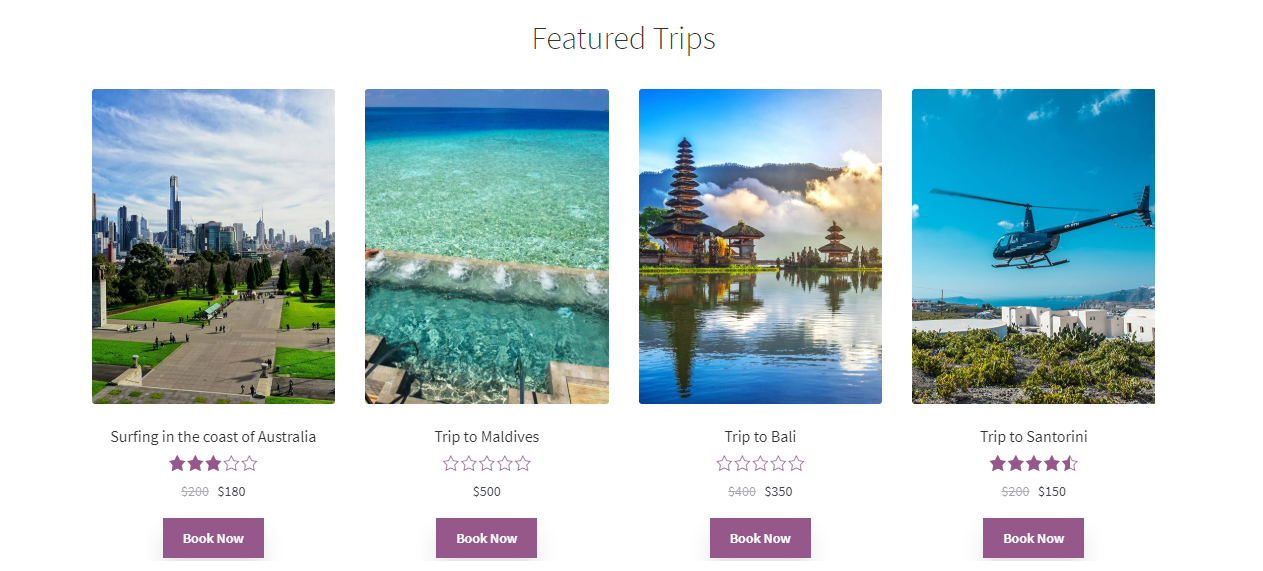
2. From Travelstore Settings. Options, you will see Featured Trips Options.
3. In Featured Trips Options you will see:
- Enable Section?: This option allows you to enable/disables the Featured Trip sections.
- Title: This option allows you to edit the title of the section.
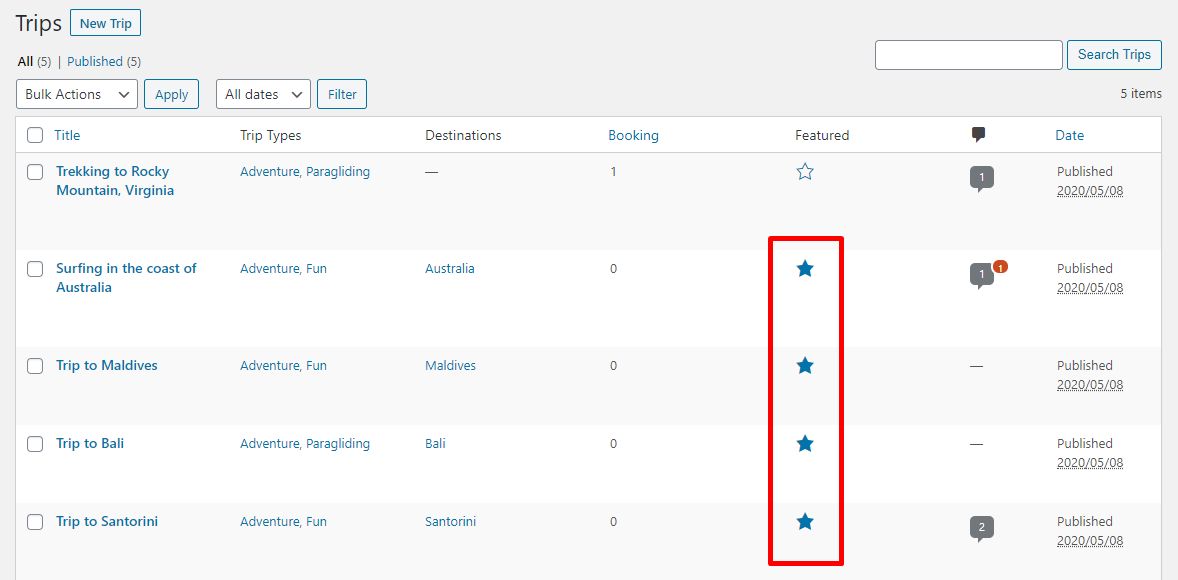
The trips that are marked as featured will appear under this section.
Front End:
1. From the Customize section, go to Travelstore Settings. Options.
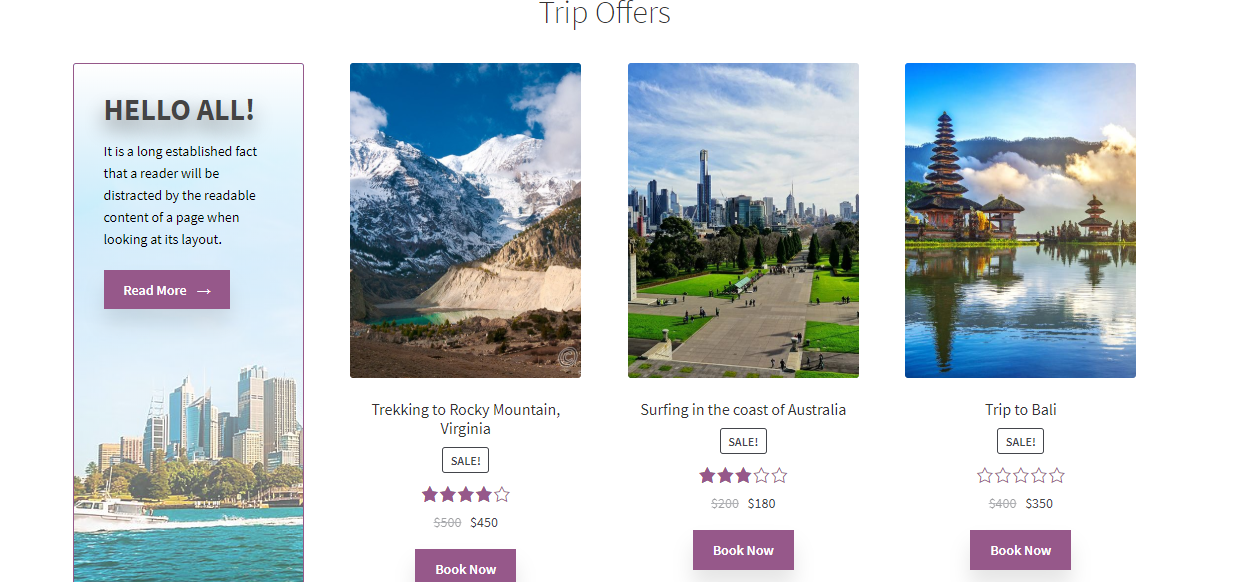
2. From Travelstore Settings. Options, you will see Trip Offers Options.
3. In Trip Offers Options you will see:
- Enable Section?: This option allows you to enable/disables the Trips offers sections.
- Title: This option allows you to edit the main title of the section.
- Call To Action: This option allows you to chose either post/page from the dropdown option to display at left side of section which is CTA section.
- CTA Button Link: This option allows you to enter the custom link to the CTA button or chose to link the button to archive page.
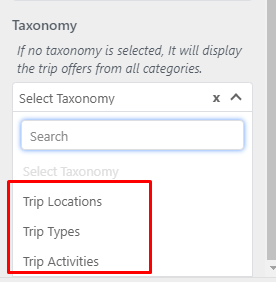
- Taxonomy: There are Three available options which you can choose according to your requirement.
- Trip Locations
- Trip Types
- Trip Activities
Options 1: When Trip Locations is selected you will find following option:
- Select Destination: Select the desired location for Latest Trips section. The location that you have entered using the plugin will appear here.
- Click “Save & Publish” button to save changes.

Options 2 : When Trip Types is selected you will find following option:
- Select Trip Types: Select the desired Trip types for Latest Trips section. Trip type that you have entered using the plugin will appear here.
- Click “Save & Publish” button to save changes.
Options 3 : When Trip Activities is selected you will find following option:
- Select Trip Activity: Select the desired Trip activity for Latest Trips section. Activities that you have entered using the plugin will appear here.
- Click “Save & Publish” button to save changes.
- Number of offer trips: This option allows you to manage the no of trips to be displayed under this section.

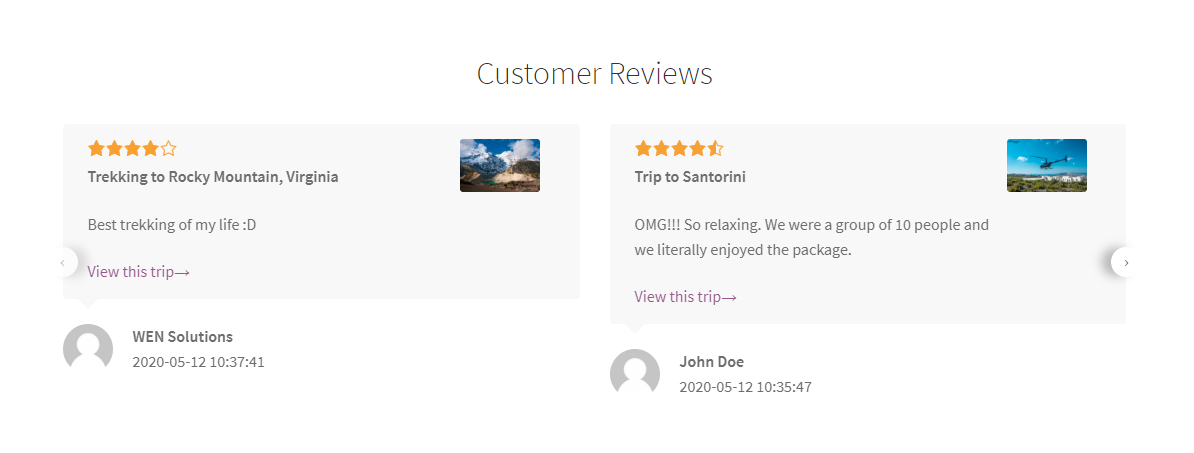
Front End:
1. From the Customize section, go to Travelstore Settings. Options.
2. From Travelstore Settings. Options, you will see Customer Reviews Options.
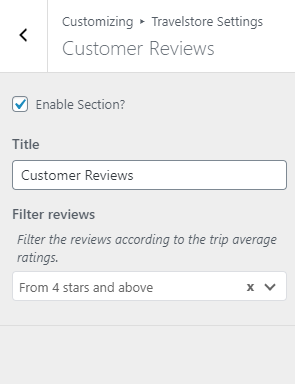
3. In Customer Reviews Options. you will see:
- Enable Section?: This option allows you to enable/disables the Customer Reviews sections.
- Title: This option allows you to edit the title of the section.
- Filter Reviews: This option allows you to select the option to display the review on the frontend.
- Display all reviews:
- From Three stars and above
- From Four stars and above
- Five stars only
Front End:
You can update the theme following two method.
- Through the Admin Dashboard
- Through FTP
To update Theme though FTP, follow these basic steps:
- Download the latest version of Travel Store from WordPress theme directory
- Unzip travel-store.zip to your Desktop
- Using an FTP client to access your host web server, go to /wp-content/themes/ and upload your new copy of Travel Store Theme which shall replace the old files.


